
The Day sheet will list out all appointments on a particular day and selected practitioner(s) and allow you to monitor their patient journey through your clinic. By creating bespoke sections, you can assign a coresponding status to the patient and monitor their appointment progress.
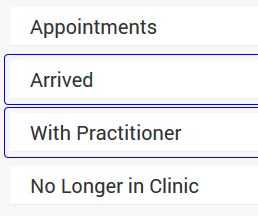
In order to use the Day Sheet, you should first create ‘sections’ that will form the basis of the steps in the patient journey that you wish to monitor. A typical journey will begins with ‘Appointments’ (this is fixed and will display all the appointments on the selected day), and continues with ‘Arrived’, ‘With Practitioner’ and ‘No Longer in Clinic’. It is possible to have additional sections (eg. ‘in prep’ or ‘create invocie’) to tailor the Day Sheet to your work flow.
Setting up the Day Sheet Sections
- On the Control Centre select from the menu drawer ‘Scheduling’ followed by ‘Day Sheet’
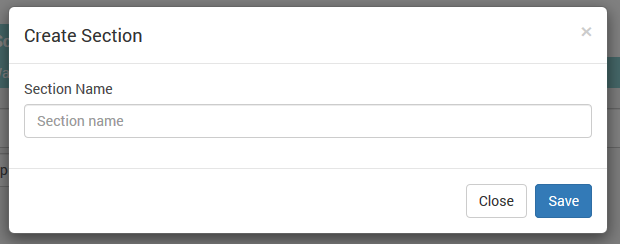
- To add a section, click the ‘Add Section’ button
- On the pop up window, add a ‘section name’
- Sections will be added in chronological order. It is therefore advisable that the last section indicate that the patient is no longer in the clinic
- The ‘central’ sections are highlighted in blue to indicate that the patient is present in the clinic
- You can edit section titles, or even delete them by hovering over the section name and clicking on the corresponding button
Using the Day Sheet
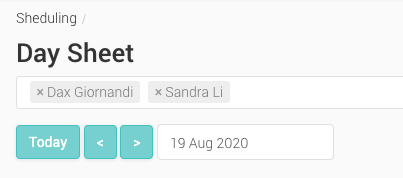
- Once the Day sheet sections have been set up, select the day and practitioner you wish to view appointments for
- Appointments will appear under the first section ‘Appointments’
- In order to advance the patient through the day sheet, change the ‘status’ to correspond with the appropriate section