If your Practitioners work in different locations on different days – you can manage their calendar by implementing the use of ‘locations’ within your clinic.
Within each clinic you can create a number of ‘locations’. Locations can be assigned to a Practitioner’s rota, and are displayed on the calendar as well as the Online Booking Widget.
Locations do not have any additional data associated with them (such as a physical address or separate patient list) and always relate to the clinic in which they are created.
Adding Locations to a Clinic
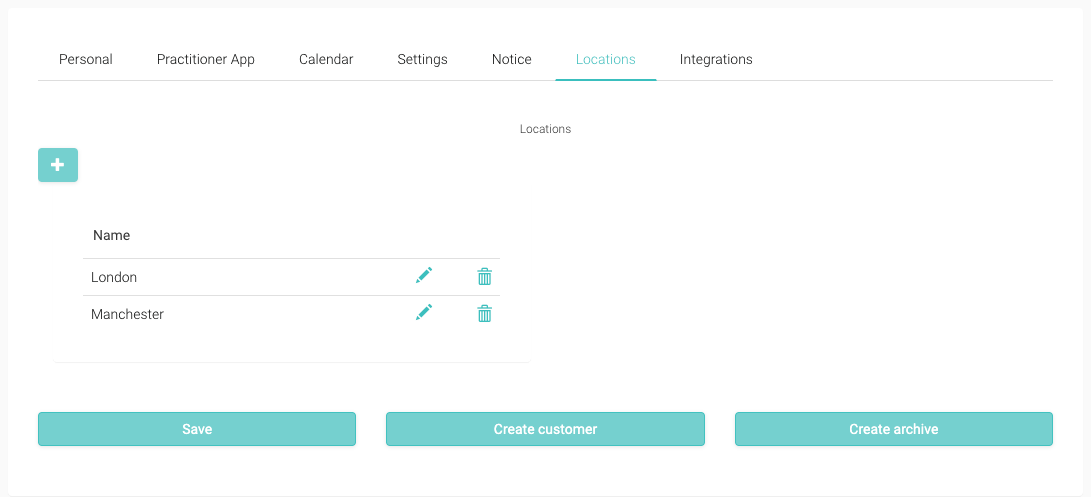
- In the control centre, navigate to the Settings -> Profile page (Please note: Admin level access required)
- Select the ‘Location’ tab
- Click on ‘+’ to add a location
- Enter the name of the location in the pop up window
- Click ‘Save’ to save you location
- Your newly created location will appear on the ‘Locations’ page
Managing Practitioners and Locations
- Navigate to the the Settings -> Team page
- Select the Practitioner you wish to manage
- If not enabled, toggle the ‘Online Booking Availability’ to on, displaying the Practitioner rota
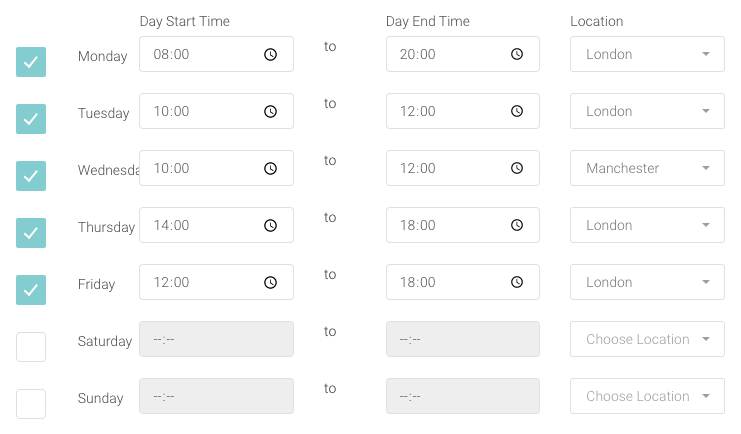
- Select the location required for any day on the rota
- Click ‘Save’ to update the Practitioner
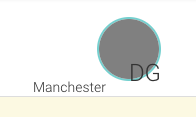
Once completed the location will be displayed at the top of the Calendar next to the Practitioner’s initials and photo.
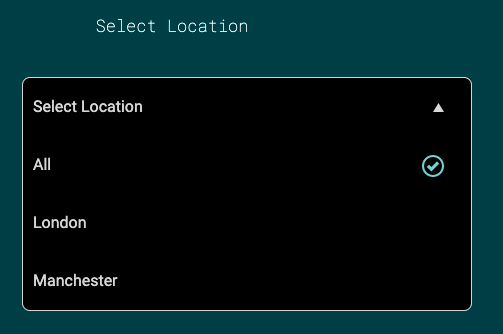
The Online Booking widget will also display and categorise availability based on the selected location.
Users will be able to see the full calendar, or select a specific location and be shown only the appointment slots available at that location.