
The Gallery displays all your Treatment Photos. It is accessible from the Consultation Tool
Find out how to enter the Consultation Tool here.
The Gallery allows you can filter photos by treatment, assign photos as Patient Profile Pictures, and manage the visibility of each photo.
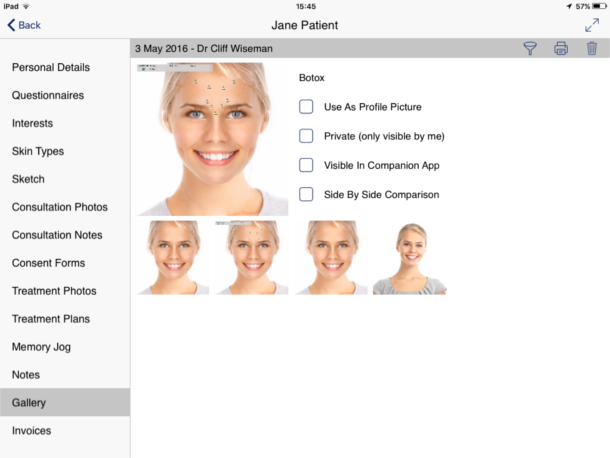
- Enter the ‘Consultation Tool’ via the Calendar Appointment, or by selecting the Patient in the Patient List
- Select ‘Gallery’ from the list on the left hand side of the screen
- All previously taken Treatment Photos will appear in the main window
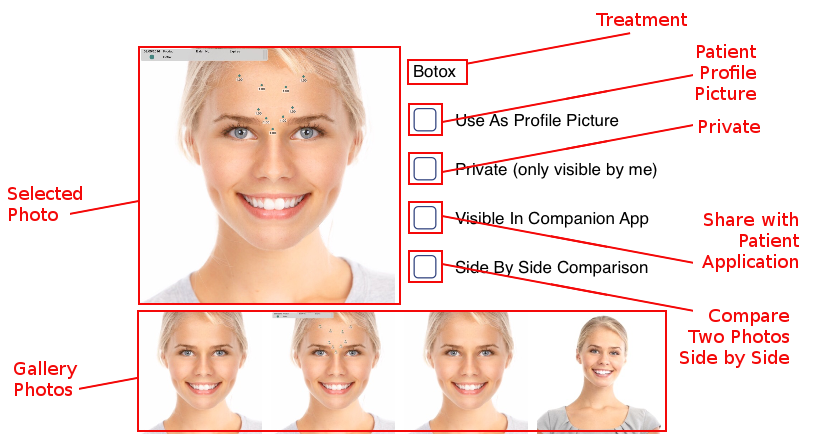
- Treatment If a Treatment is recorded against the photo it is displayed here
- Use As Profile Picture Ticking this box will assign the Photo to the Patient’s Profile Picture. It will appear in their Personal Details Page and in the Patient List next to their name
- Private By ticking this box, only the Practitioner who is currently signed in can view this photo
- Visible in Companion App Ticking this box allows the photo to be viewed by the Patient in the Patient Application on their smartphone
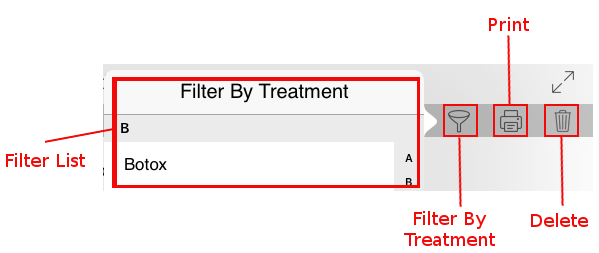
- The toolbar on the top right of the main window allows for the further management of individual photos
- Filter Filter all Gallery Photos by Treatment type
- Print Print the selected photo
- Delete Delete the selected photo
Further information on Photo Editing can be found by following the links below:
How to Edit Consultation Photos can be found here.
How to Edit Treatment Photos can be found here.